How to set up your PPPoE internet connection during the TP-Link Quick Setup wizard
When you buy your TP-Link Wi-Fi 6 router, and you need to set it up for the first time, you must go through the Quick Setup wizard, which has been covered in detail here: 2 ways to set up your TP-Link Wi-Fi 6 router.
After you create the admin password for your TP-Link router, choose the time zone you’re in. You are prompted to select the internet connection type you use. Since you have a PPPoE connection, select this type, and press Next.
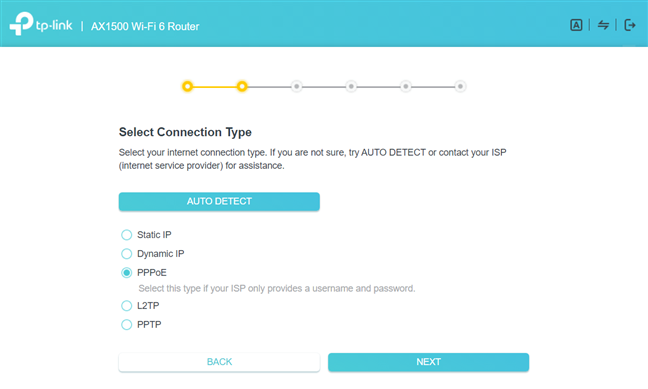
Select PPPoE as the internet connection type
Then, you are asked to enter the username and password for your internet connection. These details are given to you by the internet service provider (ISP) when you sign your contract with them. You should have received a piece of paper with your connection details. The username associated with your client account may have up to 11 characters and includes both letters and numbers that are case-sensitive. If you don’t have these details, contact the tech support service of your ISP and ask them to provide them to you.
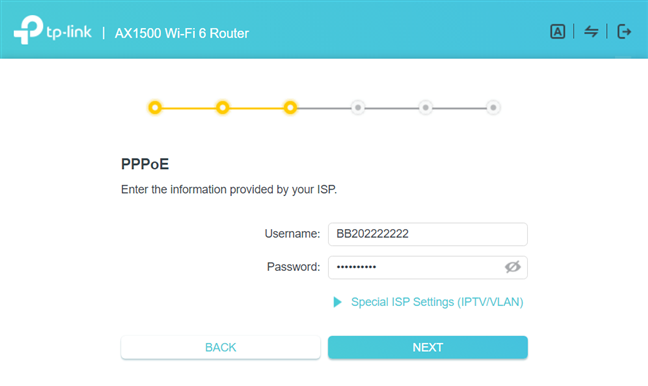
Enter the username and password for PPPoE
How to configure your PPPoE internet connection after the initial setup
You may have skipped through the initial Quick Setup wizard, or you didn’t and later on, you need to change the type of the internet connection to PPPoE. Or you may have changed your account details with your ISP. No matter the reason, you can quickly change the PPPoE settings. Read this section to learn how:
On a laptop or PC connected to the network managed by your TP-Link Wi-Fi 6 router, go to tplinkwifi.net or 192.168.0.1. This should load the user interface for administering the router, and it starts with asking you for your administrator password. Type it, and press LOG IN.
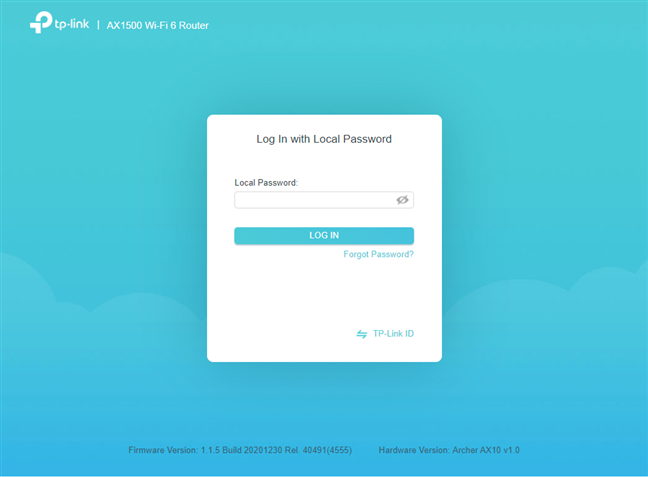
Enter the admin password for your TP-Link router
When you see the user interface for administering your router, click or tap on the Internet section on the top.
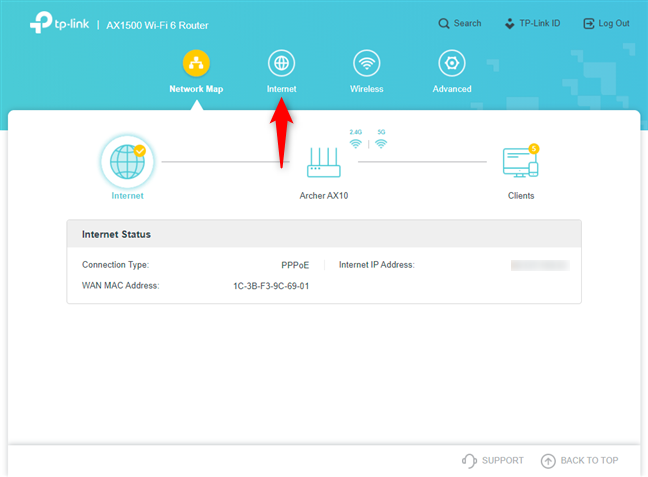
Go to Internet
This loads the basic settings for configuring the internet connection used by your router. First, in the “Internet Connection Type” dropdown list, choose PPPoE. Then, enter the username and password for your internet connection (not for your Wi-Fi) and press Save.
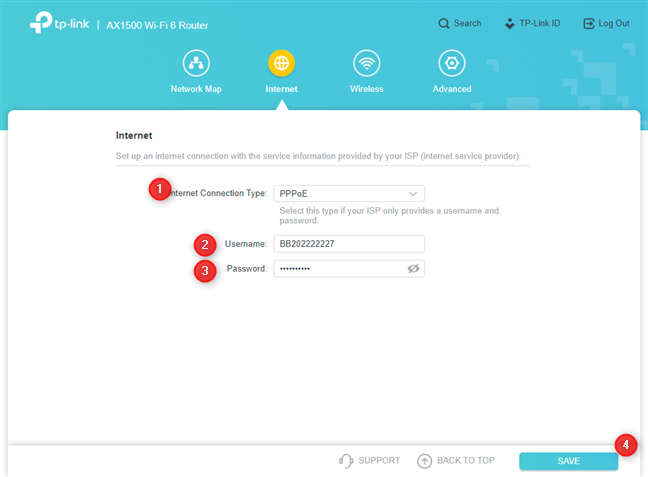
Set up your PPPoE internet connection
Your TP-Link router will now take some time to connect to the internet, using your newly entered details.

